Friday, July 8, 2011

Work in progress - MG Crossbone Gundam X1 Ver.Ka. Part 5

Work on the X1 has slowed down to a crawl. I have been tied up with some other stuff that really leaves me little energy for me to work on this kit. But I told myself i had to at least do something. Thus I did not have time to work on both the legs, I just worked on one of them. I guess one leg is better than none ^^.


Frame of the left leg - today's main attraction

Adding the outer armor to it piece by piece

Adding the knee and the vents to it

Done!

X1 sure looks like it had an encounter with a pirahana...

Moving on to loot updates. I had my birthday just recently and my missus asks me what I want for my present. "Gunpla!' That was my immediate response. So guess what, she saw this monster at Toys 'R' Us and got it for me. I finally have a mega-size model!

1/48 Zaku II Char's Custom


Looks cool judging from the box 


Now my next headache will be... where on earth will I be able to get an action base stand for it...?

Tuesday, July 5, 2011

Work in progress - MG Crossbone Gundam X1 Ver.Ka. Part 4

Basically to recap a little, the work done during the last phase is mainly on the construction on the basic frame of the kit. As for this phase, more emphasis will be put on the armor of the arms and hips.

Back of the waist before putting on the skirt armor

After the armor had been put on.

The arms without any armor

parts of the arm armor


The components of the arm with the armor on

The arm completed!

Done the same with the other arm
Next up is the shoulder armor. I was faced with the choice of using foil sticker or painting with regards to a small portion in the armor. Decided with painting it using a Yellow Gundam Marker.

Left side is painted as compared to the unpainted on the right side. Using the yellow Gundam marker 

Attachinging the arms

I am now left with the 'skinny' legs.
Not bad looking ya...

So far the progress of the build have been steady although the speed can be improved on. As for the next phase, the focus will be on the legs(no surprises there).
Before I sign off, I like to share what I bought while on a shopping spree at Uniqlo.

The Unicorn Gundam T'shirt
There are many designs available. Although my favourite design was of a Zaku II, there is only a option of a black T-shirt which I do not take kindly to. In the end, I chose this. The design of this T-Shirt is fantastic. Too bad I did not see any design with the Sinanju.

XD


Related posts:

Work in progress - MG Crossbone Gundam X1 Ver. Ka. Part 1
WIP Crossbone Gundam X1 Ver. Ka. Part 2
WIP - MG Crossbone Gundam X1 Ver. Ka. Part 3

Monday, July 4, 2011

WIP - MG Crossbone Gundam X1 Ver. Ka. Part 3

After enjoying the weekend, it is back to work on the X1. As shown in the last post, I am working on the X1's frame at the moment. I did up to the torso and the arms previously. This aim of the next phase is to complete the frame for the hip and the legs.


The frame for the hip

Starting work on the feet


Quite a no. of parts for the feet

Frame for the legs completed

With the feet attached

Adding the hip to it

The frame looks quite sturdy


The X1 looks quite skinny at the moment.. kekeke...
 The basic frame has been done. Please bear with me in regard to the slow progress. Time is a rare commodity for me currently with a lot of other stuff taking up my time. But I can say that this kit is pretty exciting for me as I have just recently read its manga. With the story fresh in my mind, I will strive to recreate the X1 as perceived in the story. Pity that there is no plans for this anime as I am sure it will be quite well received.
XD

Related posts:

Work in progress - MG Crossbone Gundam X1 Ver. Ka. Part 1
WIP Crossbone Gundam X1 Ver. Ka.  Part 2

Thursday, June 30, 2011

WIP Crossbone Gundam X1 Ver. Ka. Part 2

As continued from the last post, I proceeded with  the Crossbone Gundam X1 project. As I commented in the earlier post that there was an opening at the back of the torso for the core fighter to slot in. I took a photo to reinforce this point.


Rear view of the torso
It was 12am when I picked up from where I left last night. Therefore I think I could only do so much as I still got to go to work in the morning. Next up I worked on the head.

Foil sticker for the eyes


The head after some detailing done
I only managed to finish the frame of both arms before I decided to call it a night. The slow speed may be due to the fact that I have not touched a MG kit for quite some time. No worries there, will be getting the hang of it soon.

Frame of both arms
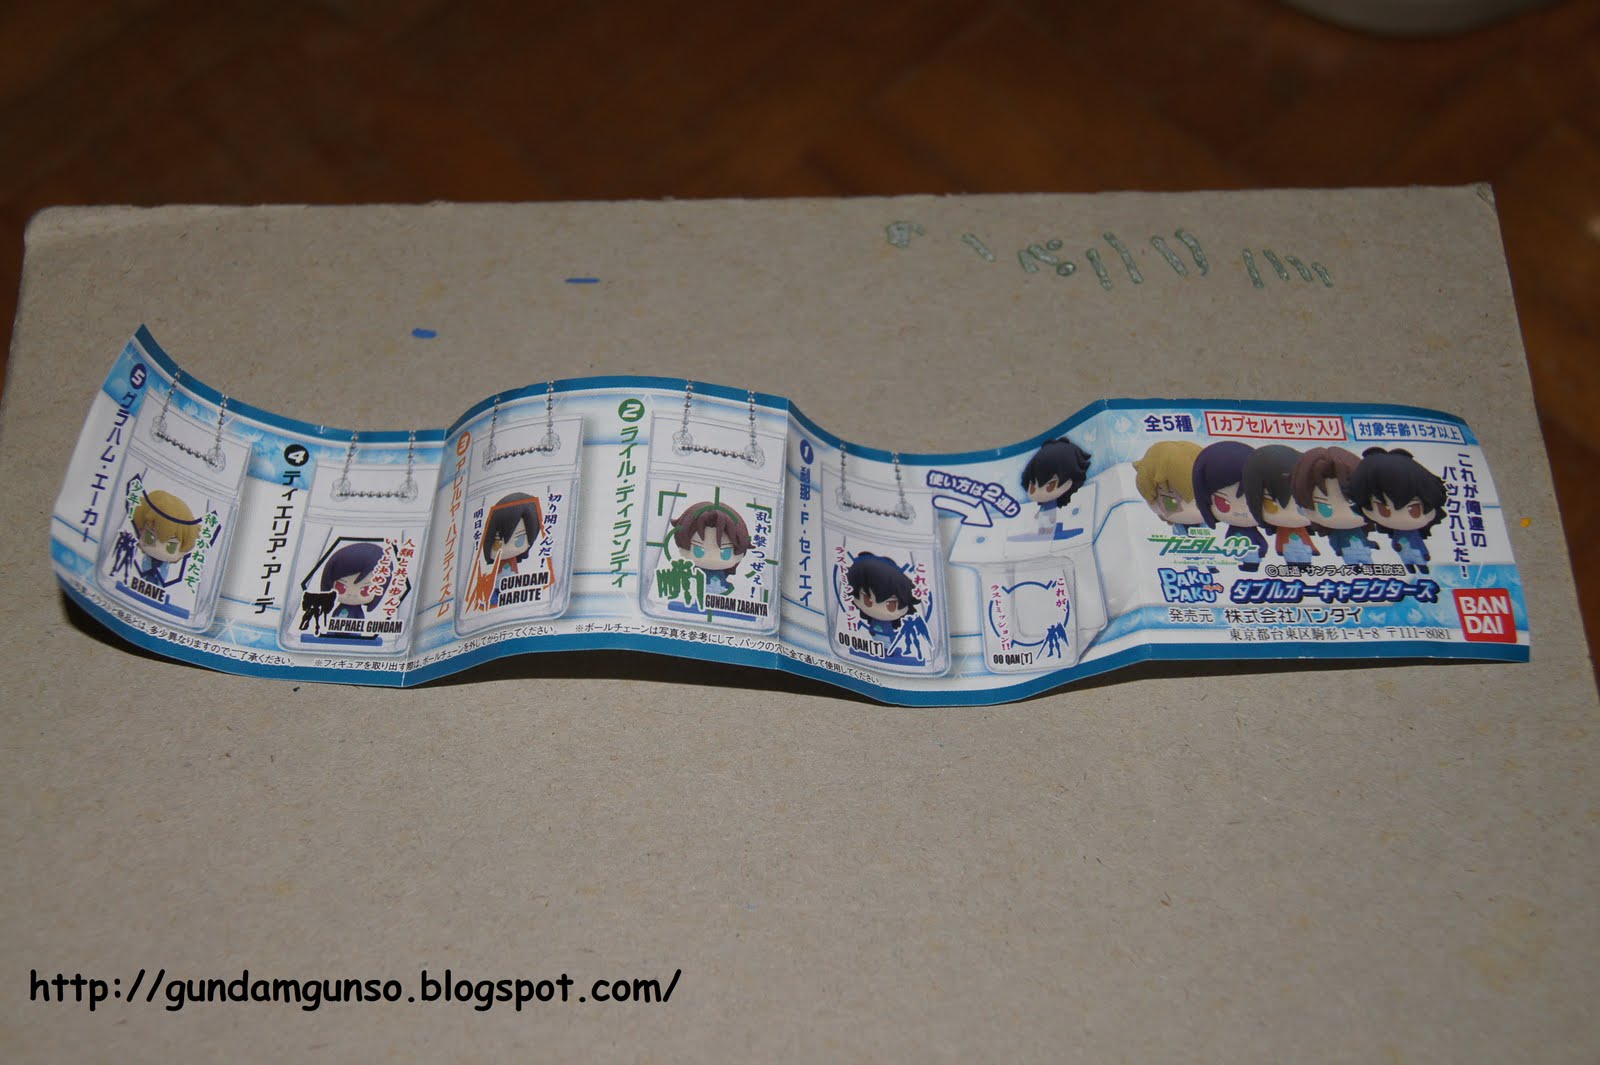
Before I wrap up this post, decided to share with you something which I got during the lunch hour. I came across a gashapon machine during lunch. I could not resist getting one of these after seeing it.

Gundam 00 Awakening of the trailblazer gashapons!
The gashapon figure comes with a small plastic pouch. The design on the pouch consists of a simple illustration and the name of the Mobile Suit he pilots in the movie special. So cute!

Out of the capsule

The pouch itself

Its Graham Aker! 

So cute!

Now after getting this, I am inclined to get the rest of them if luck permits. Kekeke...
XD


Related posts:
Work in progress - MG Crossbone Gundam X1 Ver. Ka. Part 1

Wednesday, June 29, 2011

Work in progress - MG Crossbone Gundam X1 Ver. Ka. Part 1

I finally embarked on my first MG project in two years (that's quite a long time...). Been wavering back and forth about which kit to start on. My mind was torn between the Gundam F91 and the Crossbone X1 Ver. Ka. In the end, I chose the X1 because I have not done a Ver. Ka. before.

Now on to the preliminary phase.


Box cover

Front/rear view


some details of the kit

The front of the manual

Overall view of the runners part A

Overall view of the runners part B

The anti-beam cape and the decals with the foil stickers

Further introduction of the kit in the manual

Quite impressive in terms of the info given although it is in Japanese

Starting on the torso


What is done so far

I only started on the torso so far. I forgot to the take photos of the rear view of it. there is actually a hole at the back for the core fighter to insert in. Will try to continue working on it tonight as I am now in the mood as I envision the completed version. XD
Related Posts Plugin for WordPress, Blogger...